How to Clean Between Your Oven Glass in Madison
- Jan 4
- 9 min read
It’s one of the most frustrating sights for any Madison homeowner—a greasy, hazy film trapped between the panes of your oven door glass. That stubborn buildup makes your whole kitchen feel a little less clean and completely hides whatever you’ve got baking inside after a long day.
Finally Tackle That Hazy Film Between Your Oven Glass
So, how do those drips and cloudy spots even get in there? It all comes down to condensation and tiny grease particles that get pulled between the glass panels through small ventilation slots. Over time, the intense heat from the oven bakes this film right onto the glass, making it impossible to just wipe away from the outside.
But don't worry, you can absolutely fix it. This guide will walk you through the entire process, step-by-step, just like a helpful neighbor would.
We'll cover everything you need to know:
Gathering the few simple supplies you'll need
Safely taking the oven door off its hinges
Cleaning the glass without leaving streaks
Putting it all back together perfectly
When you're dealing with really tough, baked-on grime, turning to effective DIY cleaning solutions can give you a gentle yet powerful way to cut through the mess.
Think of this as a friendly neighbor's guide to a weekend project that actually leaves you with a crystal-clear oven door. It’s a rewarding task that tackles one of the biggest challenges of kitchen cleaning, but if it feels like too much to take on, remember that professional oven cleaning Madison is always an option.
Gathering the Right Tools for a Scratch-Free Clean
Before you start any project, having your supplies ready makes everything go smoother. Think of it like prepping for one of our chilly Madison winters-you wouldn’t wait for the first snowfall to find your shovel. The same idea applies here, and getting organized first is the secret to a professional result.
You don’t need anything fancy, just a few simple items that you likely already have around the house. The right tools ensure you can tackle every bit of grime without causing any accidental scratches to the glass.
Your Simple Cleaning Checklist
Here’s a quick rundown of what to grab:
A Screwdriver: Most oven doors use either a standard Philips head or a star-shaped Torx head screw. Check your door's fasteners to see which one you'll need.
Soft Microfiber Cloths: You’ll want at least two-one for cleaning and one for drying and polishing to a streak-free shine.
A Gentle Cleaner: A simple paste made from baking soda and a splash of water is perfect. It provides gentle abrasion to lift grease without harsh chemicals.
A Plastic Scraper: An old gift card or a plastic putty knife works wonders on those really stubborn, baked-on spots that refuse to budge.
It’s crucial to avoid abrasive sponges, steel wool, or harsh chemical oven sprays on the glass panels. These can easily create permanent scratches or damage the heat-reflective coating on the interior pane. We've compiled a more extensive list of our favorite supplies, which you can find in our guide to the essential tools for deep cleaning your home.
DIY Cleaners vs Store-Bought Solutions
Wondering whether to mix your own cleaner or grab something from the store? Both can work, but they have their trade-offs. This quick comparison should help you decide what’s best for your oven glass.
Cleaning Agent | Pros | Cons |
|---|---|---|
Baking Soda Paste | Inexpensive, non-toxic, and surprisingly effective on tough grease. | Requires a bit more elbow grease and can be messy to apply and remove. |
Vinegar & Water | Great for cutting through grease and leaving a streak-free shine. | The smell can be strong, and it may not be powerful enough for heavily baked-on grime. |
Commercial Oven Cleaners | Very powerful and works quickly with minimal scrubbing. | Often contains harsh chemicals with strong fumes; requires good ventilation and care. |
Dish Soap Solution | Gentle, readily available, and safe for most surfaces. | May struggle with old, carbonized food stains without a lot of scrubbing. |
Ultimately, a homemade baking soda paste is usually our go-to for its safety and effectiveness. But if you're facing a really tough job, a store-bought cleaner might save you some time-just be sure to check that it's safe for glass.
Preparing properly is more than half the battle. By gathering these simple items, you set yourself up for a flawless, scratch-free finish that will make your oven look brand new again.
Safely Removing and Dismantling Your Oven Door
Taking the oven door off might sound like a job for an appliance technician, but it's usually much more straightforward than you’d think. With a little patience, it’s a task most folks in Madison can handle. This step is the key to finally getting at that hazy film trapped between the glass.
First, make sure your oven is completely cool and turned off. Safety first, always. Then, lay a thick, old towel or a blanket on the floor right in front of the oven. This gives you a soft, protected surface to place the heavy door on once it's off, preventing scratches on both your floor and the door itself.
Finding and Unlocking the Hinges
Now, open the oven door all the way, just like you would if you were putting a big holiday roast inside. Take a close look at the hinges where the door connects to the oven frame. You should see a small metal tab or lever on each hinge mechanism.
These little locks are the secret. To unlock them, you need to flip these tabs up and back toward the oven frame. Sometimes they can be a bit stiff from grease buildup, so you might need to apply firm, steady pressure. Once they're flipped, they hold the hinge in an open, "locked" position that allows you to lift the door right off.
This process visualizes how to unlock, lift, and get the door ready for cleaning.
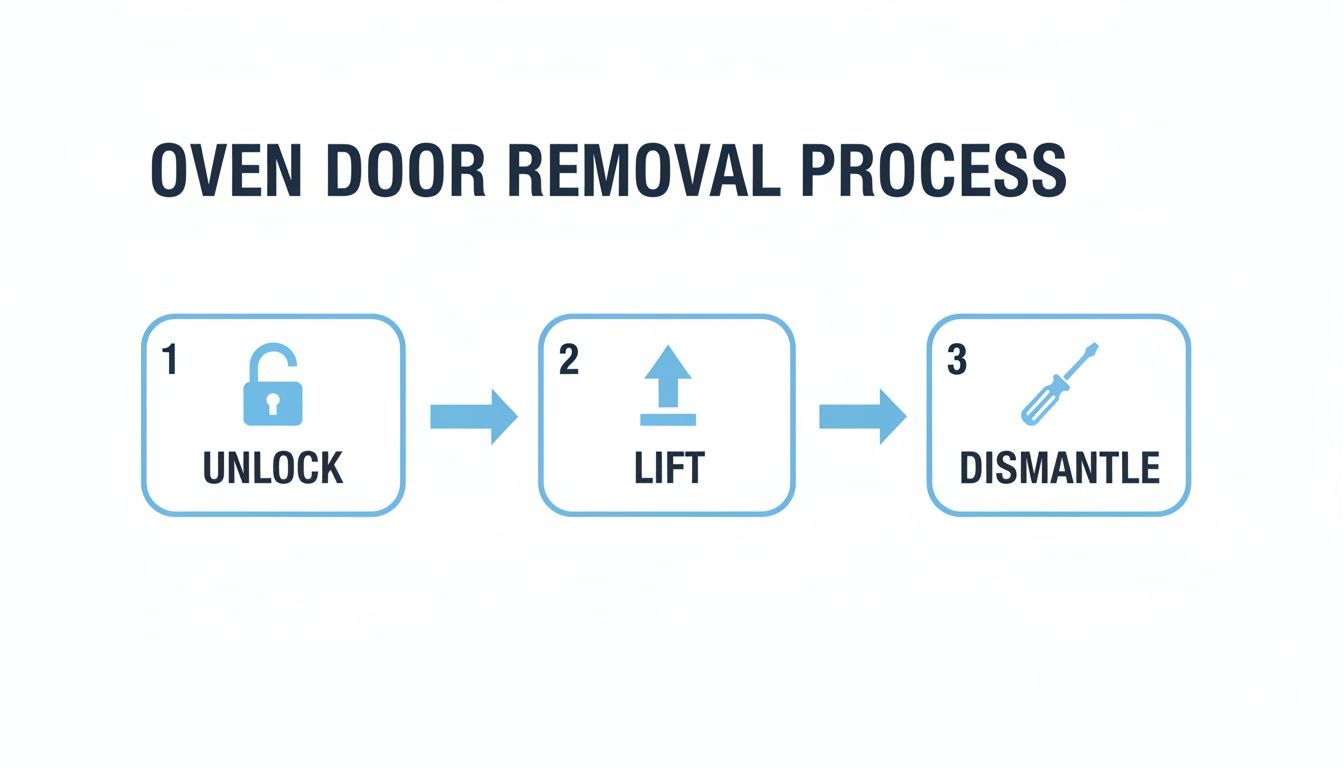
This visual guide breaks the task into manageable actions, which makes it feel a lot less intimidating.
With the hinge locks engaged, gently start to close the door until it stops at roughly a 45-degree angle. Get a firm grip on both sides, then lift it straight up and toward you. It should slide right off the hinge arms. Carefully carry it over to the towel you prepared and lay it down with the inner glass facing up.
Taking the Glass Panels Apart
With the door resting on a stable surface, you can now get to the glass panels. Most oven doors are held together with a series of screws, usually located along the top and bottom edges. This is where you'll need that Philips or Torx screwdriver.
Carefully remove all the screws holding the inner panel or frame in place. It's a good idea to put them in a small bowl or a magnetic tray so they don't roll away and disappear. Once the screws are out, you should be able to lift the inner frame and glass panel off, finally exposing the inside surfaces you need to clean.
Pro Tip: Take a quick photo with your phone before you fully separate the panels. This can be a real lifesaver for remembering which way the glass and any spacers or gaskets go back together later.
When you're handling the glass parts of an oven door, safety is everything. For some general guidance on how to safely repair a broken window, the principles can be helpful if you encounter any unexpected issues.
The Secret to a Streak-Free Sparkling Finish
With the glass panels finally separated, you’re at the most rewarding part of the job-eliminating that built-up grime for good. This is where a little patience pays off with a sparkling, like-new finish.
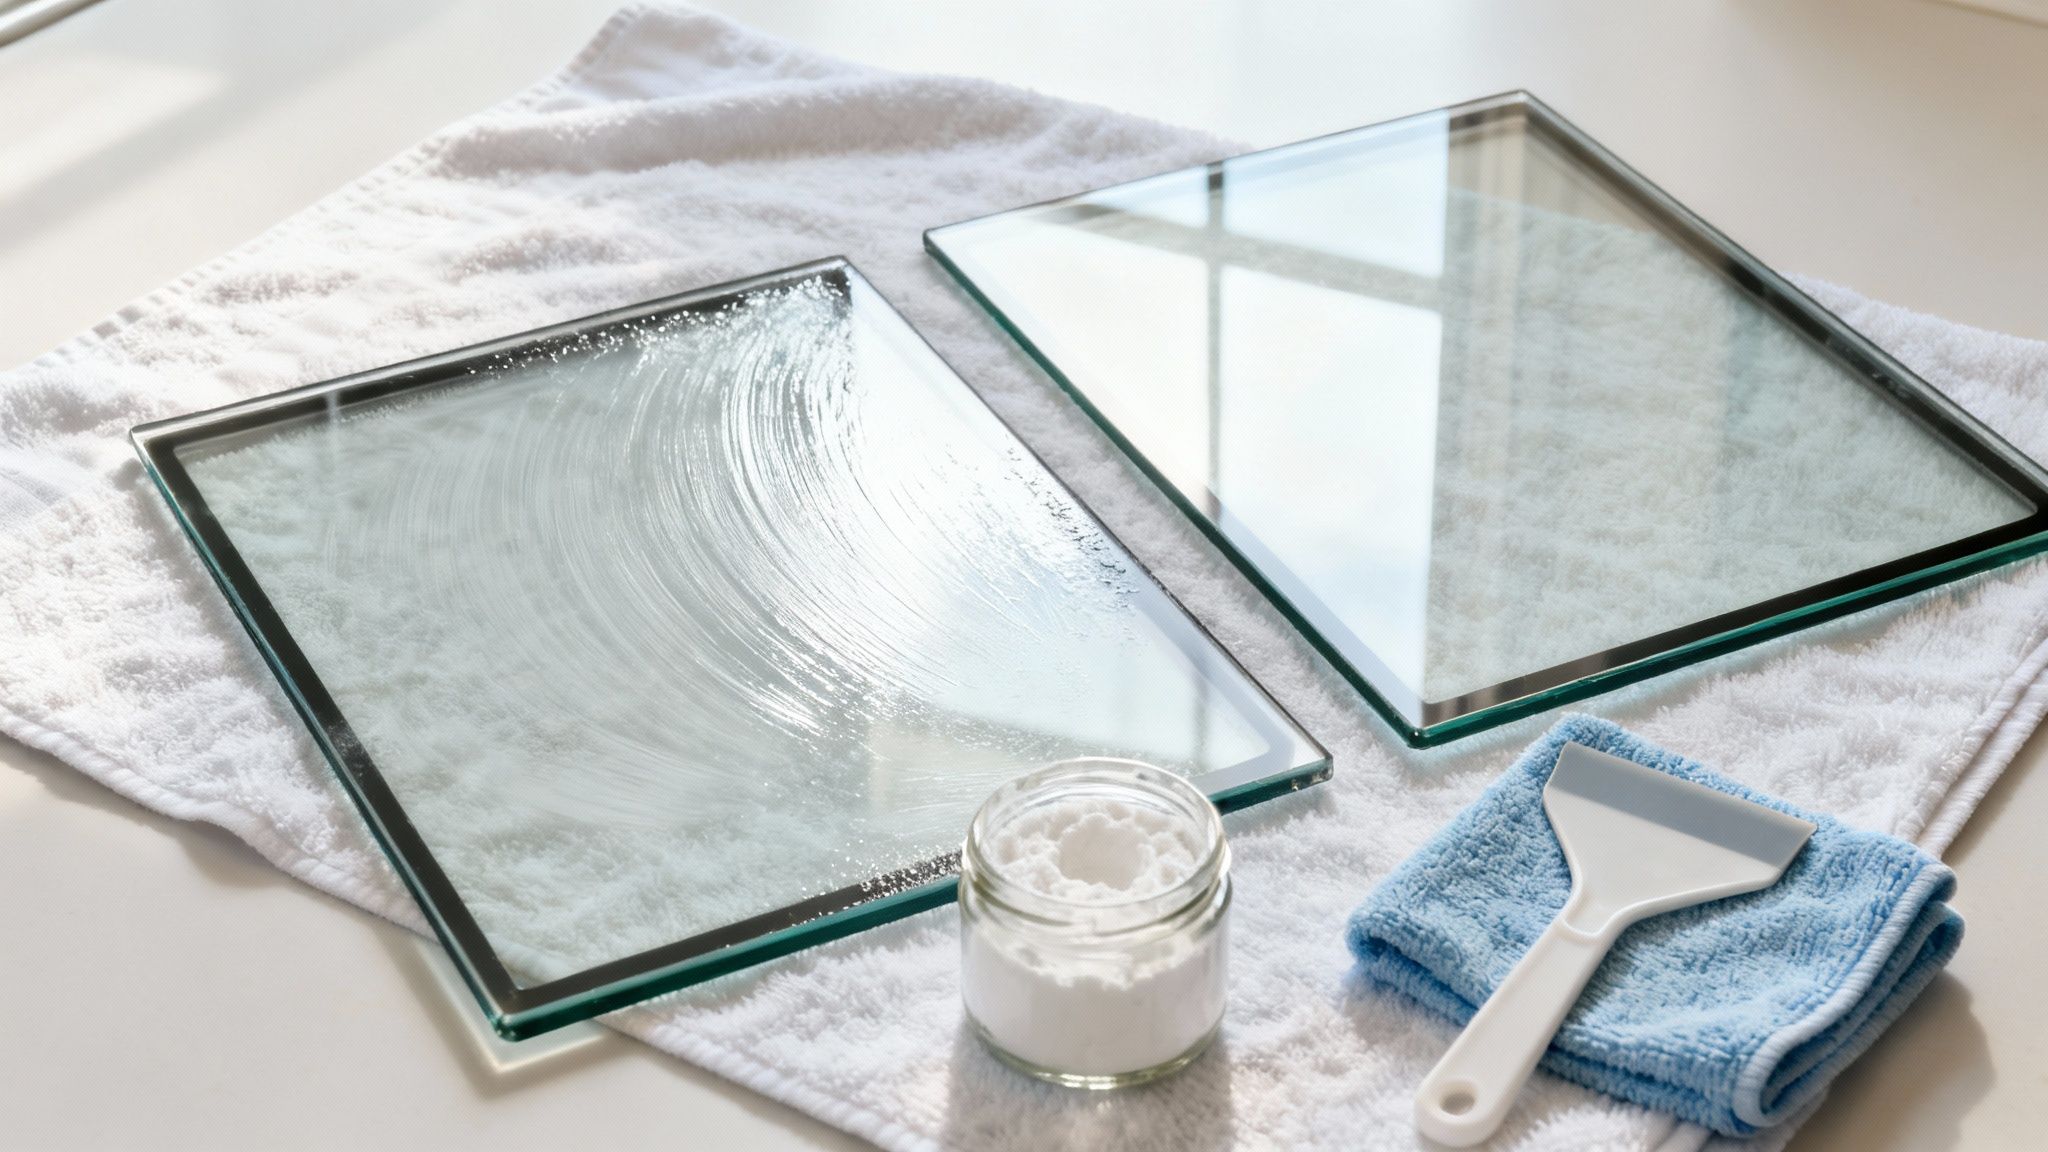
Forget the harsh chemicals. Your best friend for this task is a simple paste made from baking soda and a few drops of water. You're aiming for the consistency of thick frosting.
Gently apply this paste to the interior sides of both glass panels. Don't be shy; cover all the greasy and hazy areas completely. Now, let it sit for at least 20-30 minutes. This isn't just waiting around-the baking soda is actively breaking down the baked-on grease, which means less scrubbing for you.
Tackling Tough Spots and Getting a Flawless Dry
For those extra-stubborn, burnt-on spots, a non-abrasive scrubbing pad or even an old plastic gift card can work wonders. The key is to let the paste do the heavy lifting so you don't have to apply enough pressure to scratch the glass.
Once the grime has loosened, use a damp microfiber cloth to wipe away all the paste and residue. You may need to rinse your cloth a few times to get it all off.
The most crucial step for a streak-free result is the final rinse and dry. Lightly spritz the glass with a 50/50 mix of white vinegar and water, then wipe it clean with a fresh, dry microfiber cloth. This cuts any remaining film and ensures no water spots get trapped inside.
Getting that perfect clarity on glass surfaces is a major part of what makes a home feel truly clean. In fact, homeowners represent the biggest market for glass cleaning products, and it's easy to see why.
Achieving a flawless shine on your oven door uses many of the same techniques as other surfaces. If you’re in Madison and want to master this skill, check out our guide on how to clean windows without streaks for more local tips.
Putting Your Oven Door Back Together Perfectly
With your glass panels sparkling clean, it's time to put everything back together. Getting the reassembly right is just as important as the cleaning itself. A door that’s put back together incorrectly won’t seal properly, which means your oven will lose heat and your food won't cook evenly. The trick is to just work in reverse, carefully and without rushing.
Start by setting the inner glass panel back into its frame. Make sure any rubber gaskets or metal spacers are exactly where they were before. This is where that photo you took earlier becomes a lifesaver! If you forgot to snap one, just pay close attention to the fit-the parts are designed to sit one specific way.
Ensuring a Secure and Flush Fit
Once the glass is in place, position the frame or brackets over it and start threading the screws back in. Here’s a pro tip: partially tighten all of them first, then go back and give each one a final snug turn. This simple technique distributes the pressure evenly, preventing the glass from shifting or sitting crooked in its housing. Be careful not to overtighten, which can cause the glass to crack once the oven heats up.
Now that the door is a single piece again, you’re ready to hang it back on the oven.
Align the Hinges: Carefully slide the door’s hinges back onto the oven’s hinge arms. Remember to hold it at that same 45-degree angle you used to take it off.
Lock it in Place: Gently open the door until it’s fully flat. This movement will allow you to flip the small hinge locks back down into their locked position, securing the door to the frame.
Test the Seal: Give the door a few gentle opens and closes. You want to feel it move smoothly and sit perfectly flush against the oven body.
If the door feels wobbly or you see a gap when it's closed, a hinge probably isn't seated all the way. Don't try to force it. The best thing to do is lift the door off again and repeat the re-hanging steps carefully.
When to Call an Oven Cleaning Pro in Madison
Sometimes, a weekend DIY project can spiral into a much bigger headache than you signed up for. While cleaning between your oven glass is definitely something you can tackle, there are moments when calling in a professional is the smarter, safer, and faster choice.
If you’ve taken one look at your oven door’s complex hinge mechanism and felt a wave of uncertainty, that’s a good sign to pause. Modern ovens, especially those in downtown Madison apartments, can have intricate designs or special coatings on the glass. It’s surprisingly easy to damage them with the wrong cleaners or techniques.
Signs It’s Time to Hire a Professional
Think about the time and effort involved. If the grime is so severely baked-on that your baking soda paste isn't making a dent, you could spend hours scrubbing with very little to show for it.
Here are a few scenarios where professional oven cleaning Madison is your best bet:
Complex or Unfamiliar Door Mechanisms: If you can't easily identify the hinge locks or find the screws, forcing anything can lead to costly damage.
Extremely Baked-On Grease: Years of buildup can essentially carbonize onto the glass, requiring specialized tools and commercial-grade solutions to remove safely.
You're Simply Out of Time: Between work, family, and enjoying life in Madison, your weekend time is precious. A task that might take you half a day, an experienced team can often handle in a fraction of the time.
Sometimes the best DIY decision is knowing when not to do it yourself. Your time is valuable, and a frustrating, unsuccessful cleaning attempt is a tough way to spend a Saturday.
The demand for spotless homes is growing, and detailed tasks like this are a big reason why. The global market for glass cleaners is projected to hit $7.5 billion by 2032, which shows just how much people value a crystal-clear finish. For busy professionals and families, this highlights the growing importance of expert cleaning. You can explore more about this trend in home hygiene here.
For homeowners in Madison, Verona, or Fitchburg, our team at Shiny Go Clean handles tough oven jobs like this every day. We know exactly how to tackle these challenges efficiently and safely, which is a core part of providing the best deep cleaning services near you in Madison, WI.
Instead of struggling with a greasy oven, let the friendly experts at Shiny Go Clean handle it. Give us a call at (608) 292-6848 or email us at madison@shinygoclean.com for a guaranteed, spotless result without the hassle. Find out more at https://shinygoclean.com.
Comments